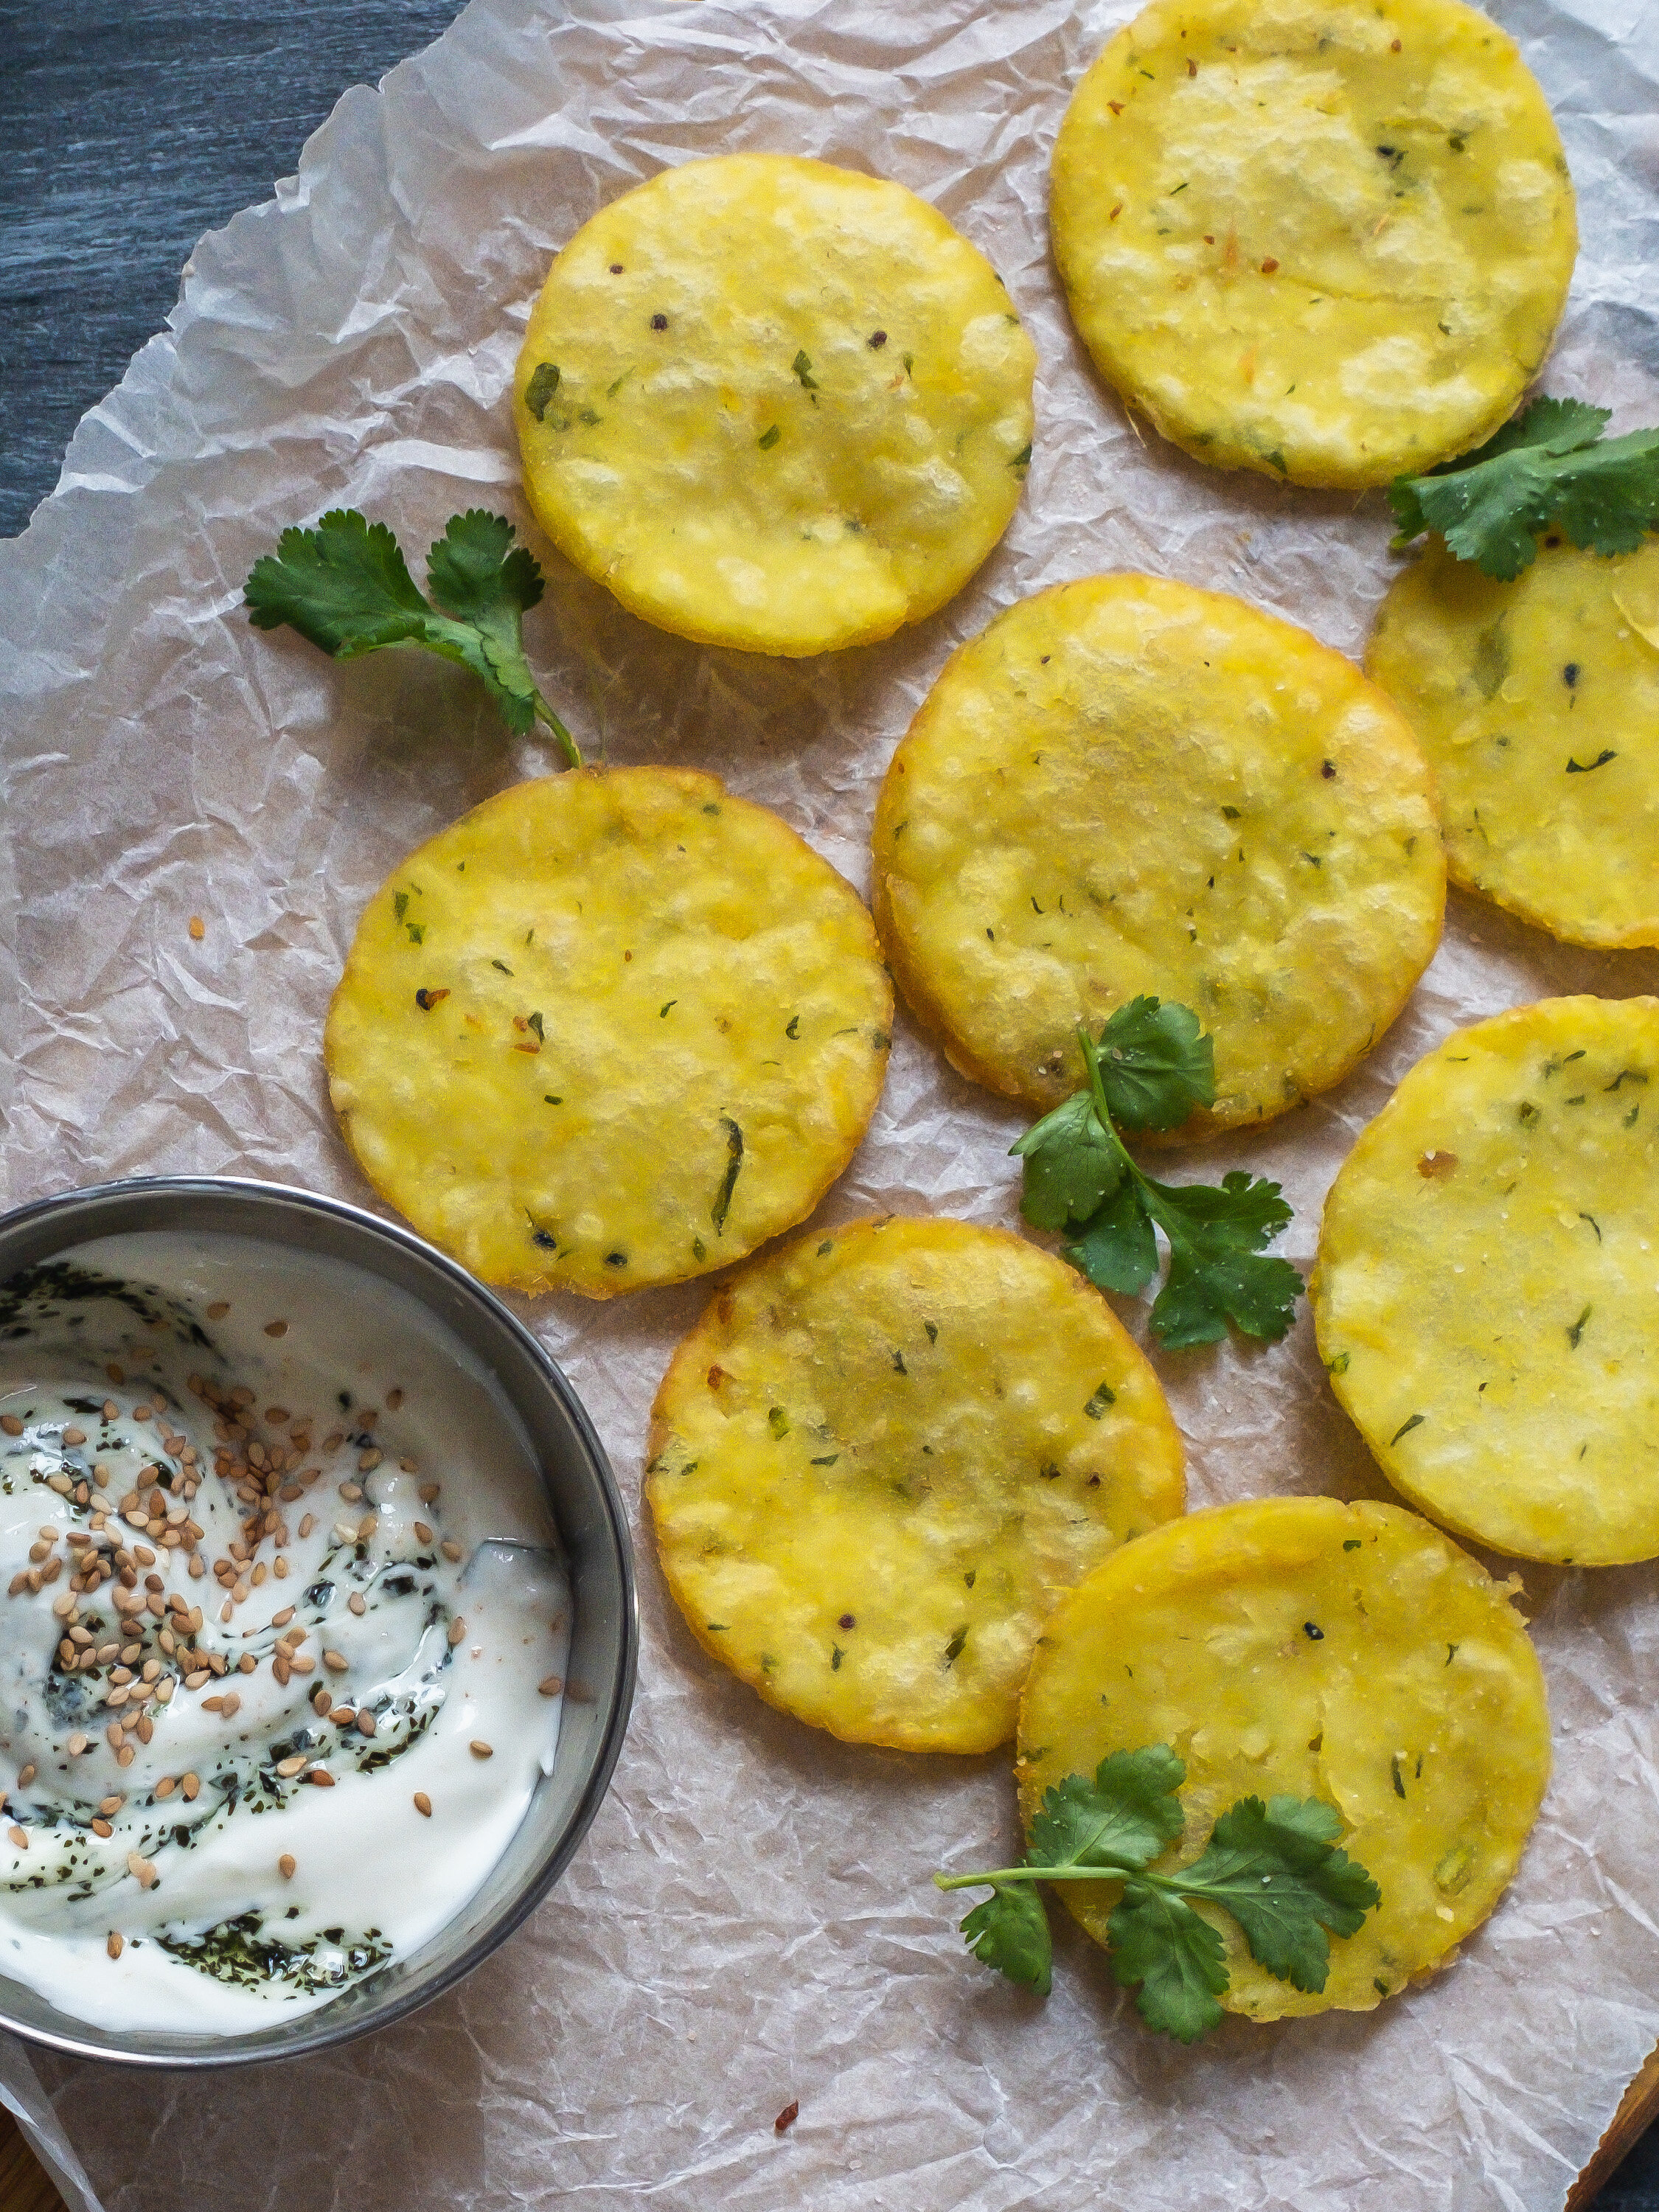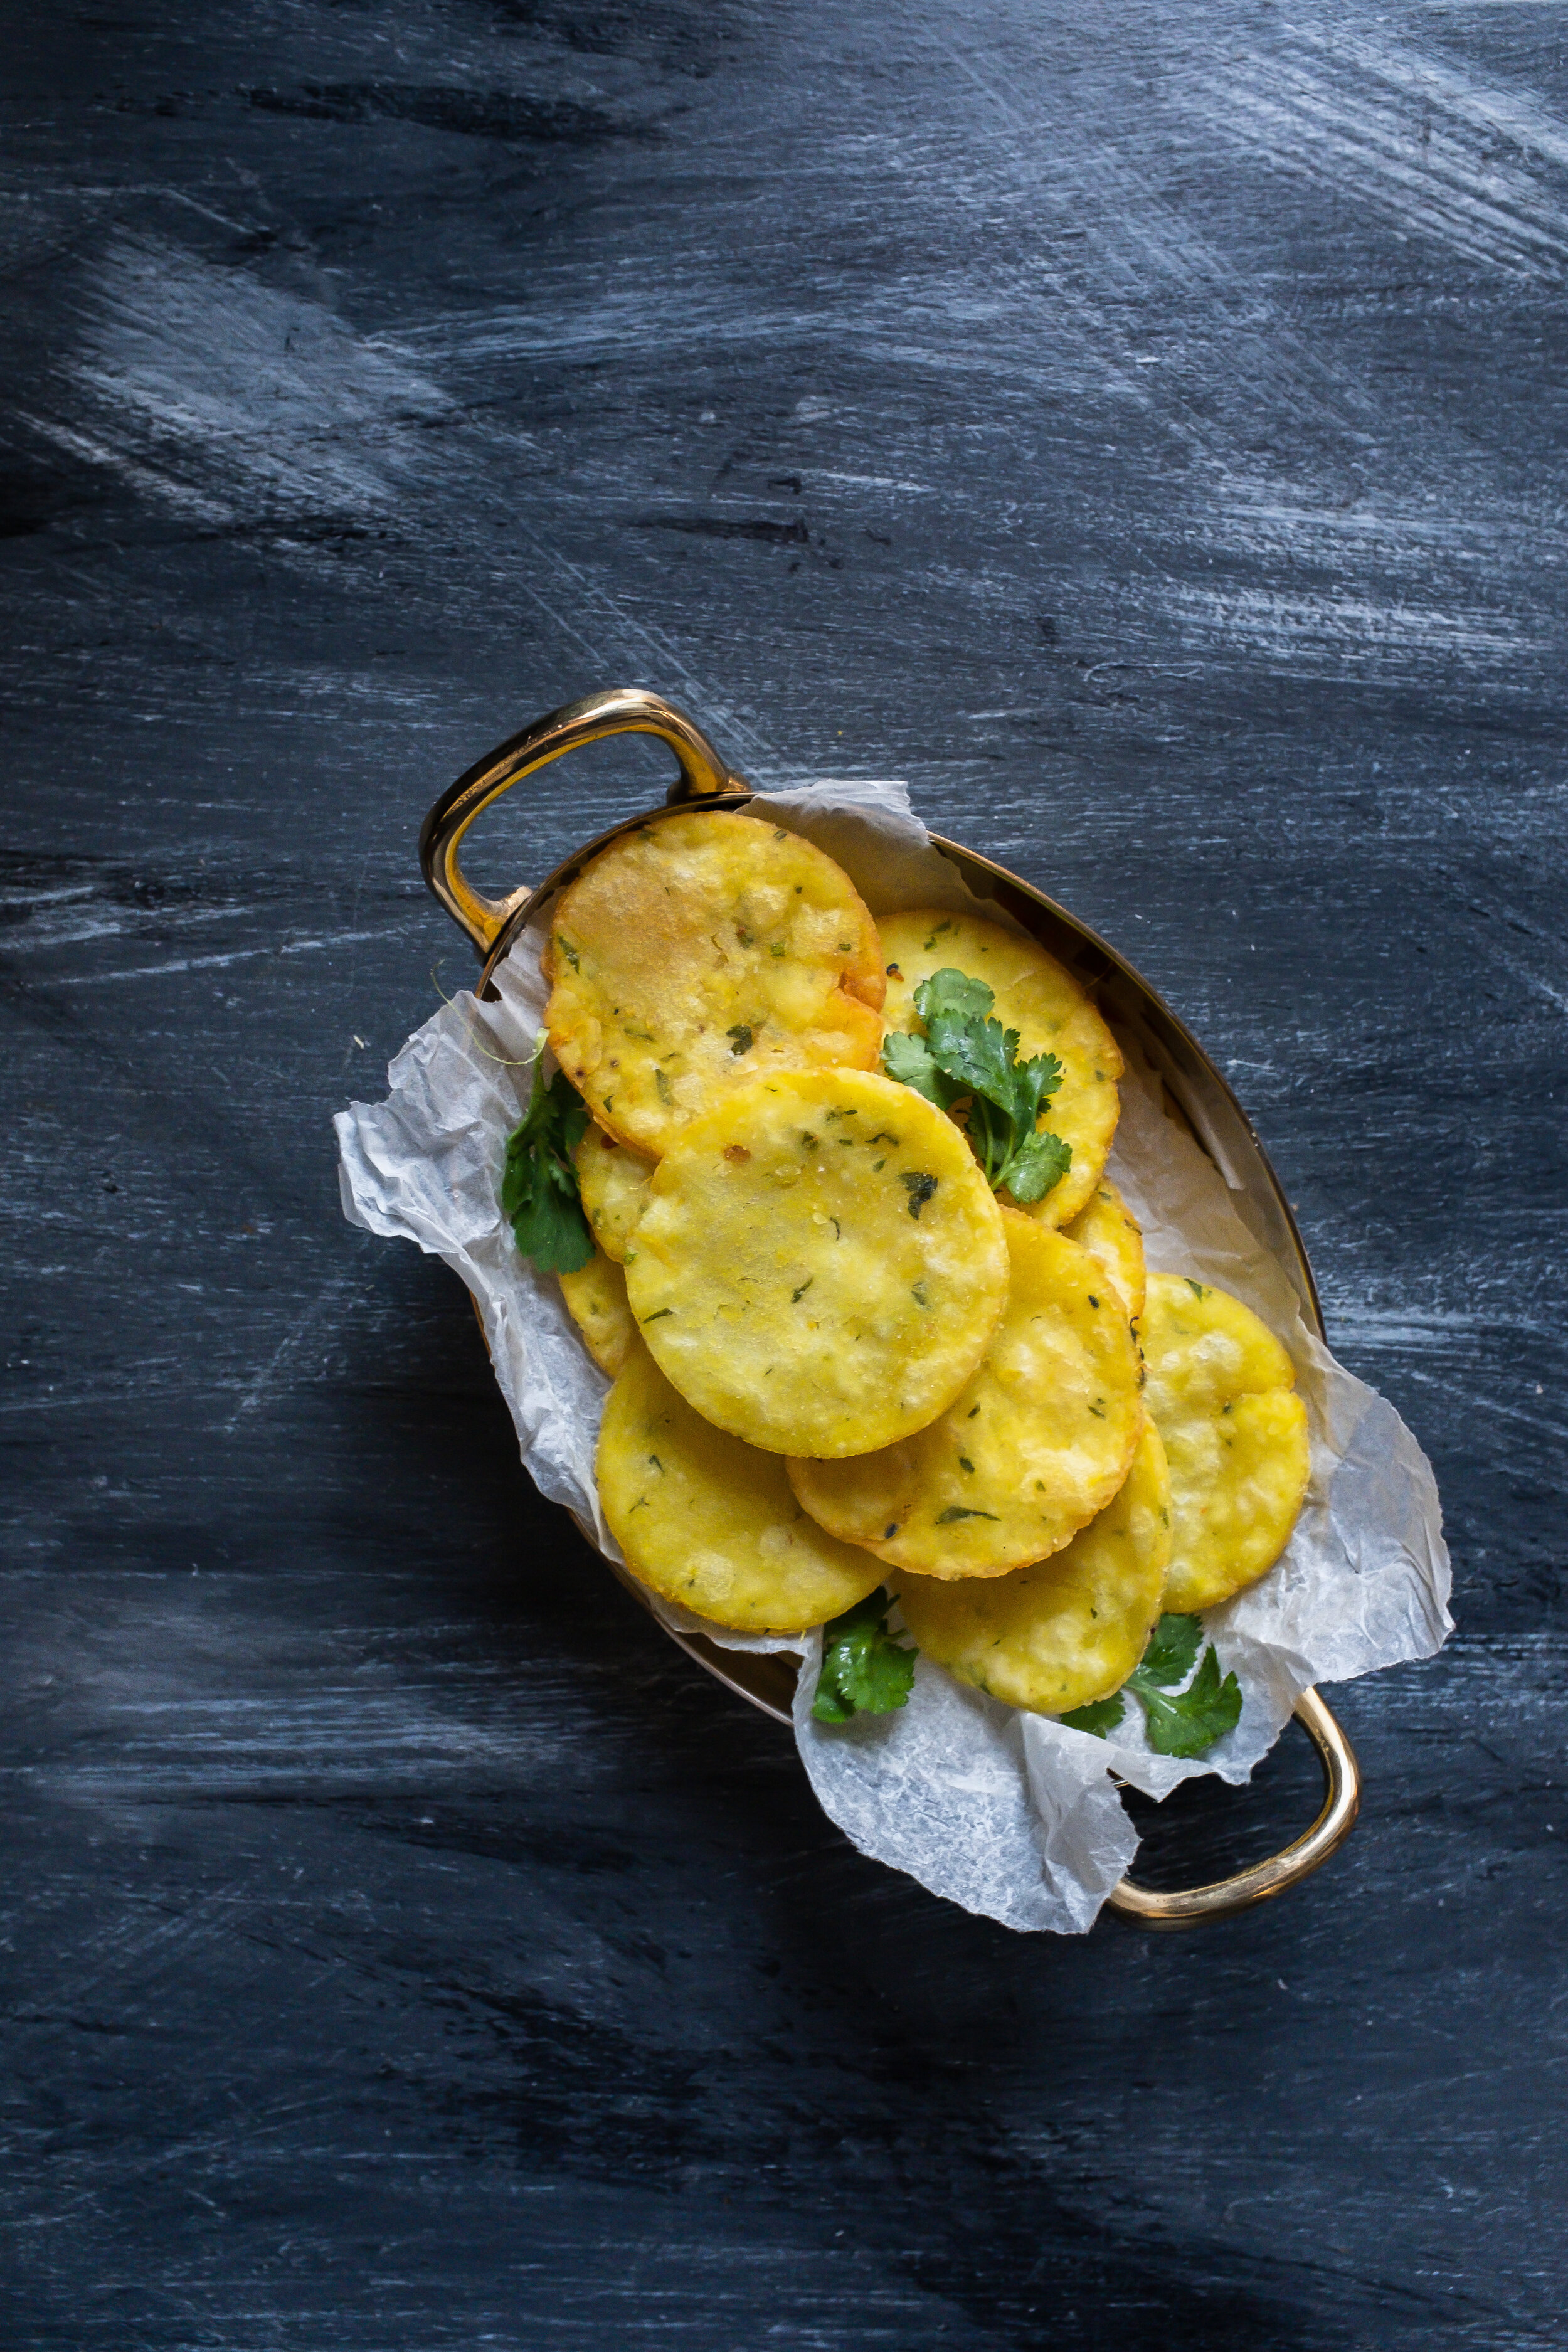
Best Of Bengali- Nuner Pitha/Nunor Bora (Salted Rice Flour Fritters)
The house buzzing with excitement, the kitchen thick with the smell of oil and ginger, smoke from the frying pan licking the air. My childhood memories of nuner pitha are always associated with family gatherings but it’s not a snack I leaned towards- you mean to say that this is just salt, flour, some other stuff and expect me to enjoy it? Nuner pitha never fared well with me as a child. After all, why have these when you can have samosas, the reigning champion of any nashta?
Several years later though, I’ve come to love these for their simplicity. The water is boiled with onion, ginger and depending on your family’s tastebuds, a few other ingredients, rice flour combined to create a supple dough and then rolled. Like all great Bengali snacks, this involves frying. The fact that they aren’t filled, are lightly salted and spiced means they are perfect to whip out for last minute dawats. Another godsend is that one batch can yield almost hundreds of pitha depending on your ratio (I always use a 1:1 flour and water ratio here) and can keep in the freezer for 2-3 months at a time.
Time: 1hr 30mins (time to cool, knead and fry)
Servings: yields roughly 60-70 pithas
Ingredients
3 cups rice flour
3 cups water
2 tbsp onion paste
2 tbsp ginger paste
2 tbsp chopped coriander
1 tbsp finely chopped green chilli
1 tsp turmeric
2 tsp salt (or to taste)
Optional ingredients:
2 tbsp garlic paste
1 tsp ground panch puron
Instructions
Bring the water to a low boil over a low-medium flame before preparing all the ingredients. Combine onion, ginger and garlic in a grinder or pestle and mortar and blend to a fine paste. Finely chop the coriander and green chilli. These should be kept aside from the paste as it will be added later.
Pour in the paste. Once the water is at a rolling boil, turn the flame low and add the green chilli, turmeric and coriander. This will help the herbs and spices bloom without overcooking and turning into mush.
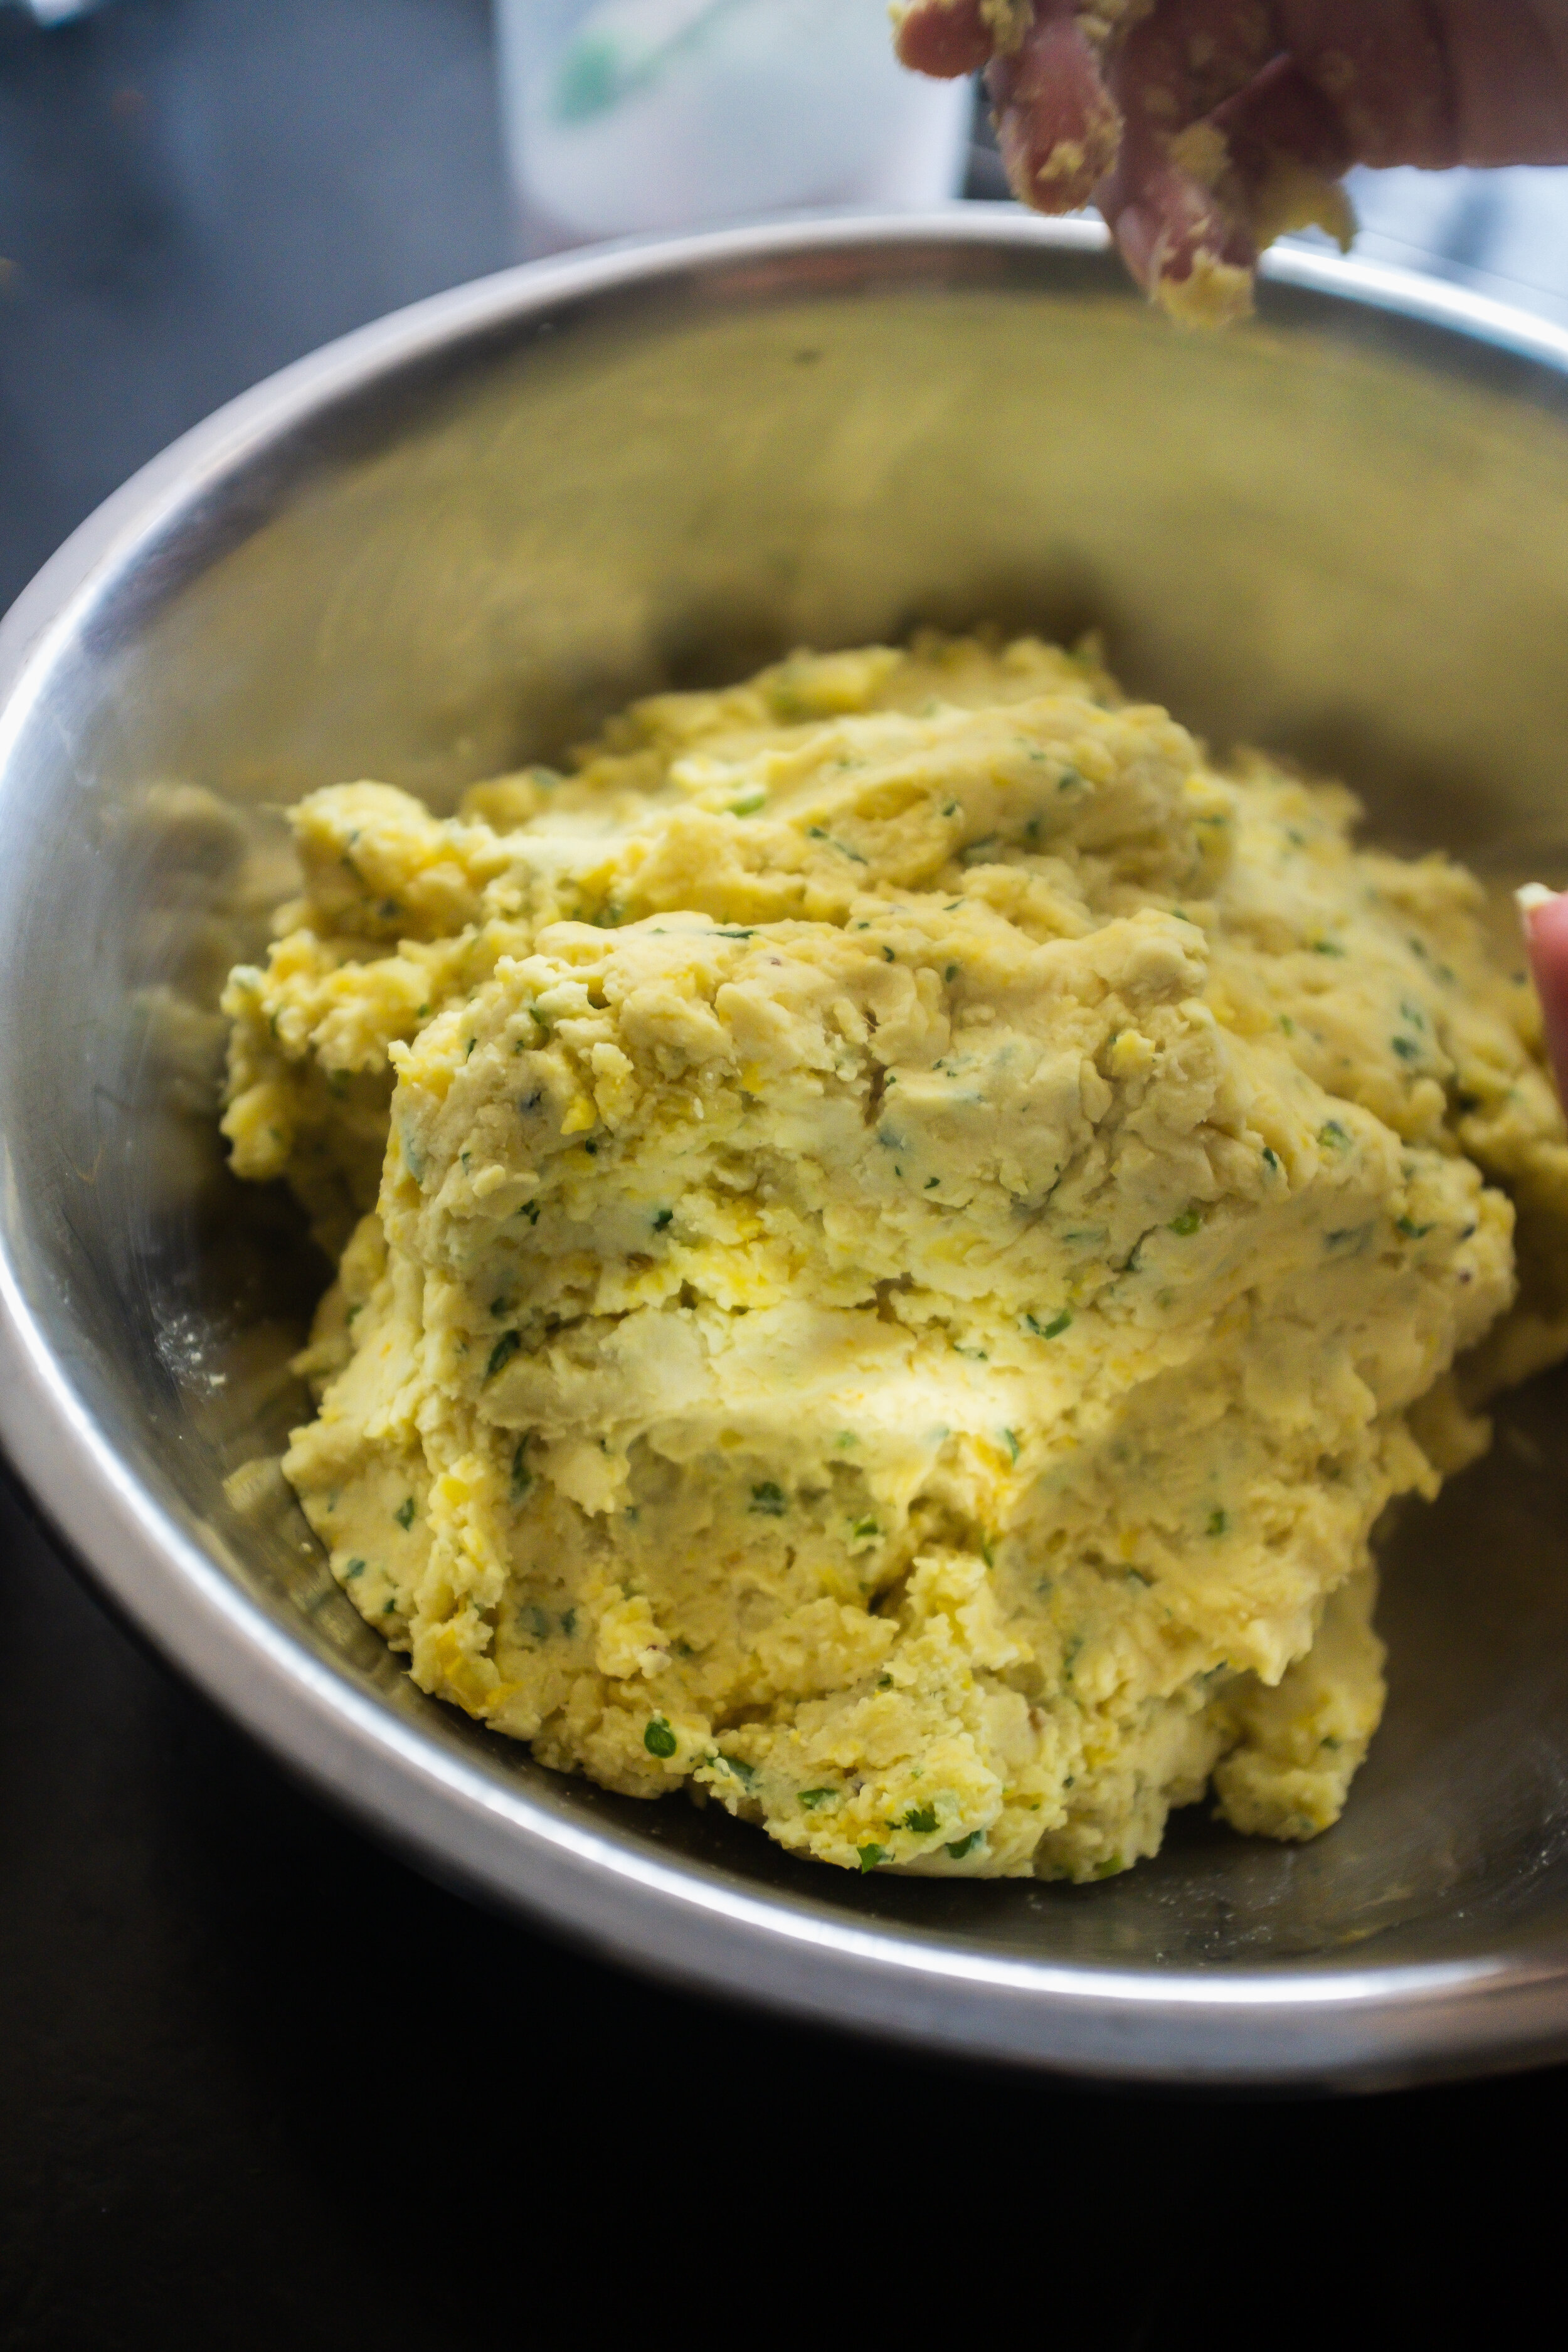
Sift in cups of rice flour a little at a time (with the flame still on low) so that all the mixture is combined and there are no visible wet spots. The dough at this point will be a little like mashed potato. This is ok- it will dry out!
Turn the gas off, leave the lid on and allow the dough to cool until you can handle it.
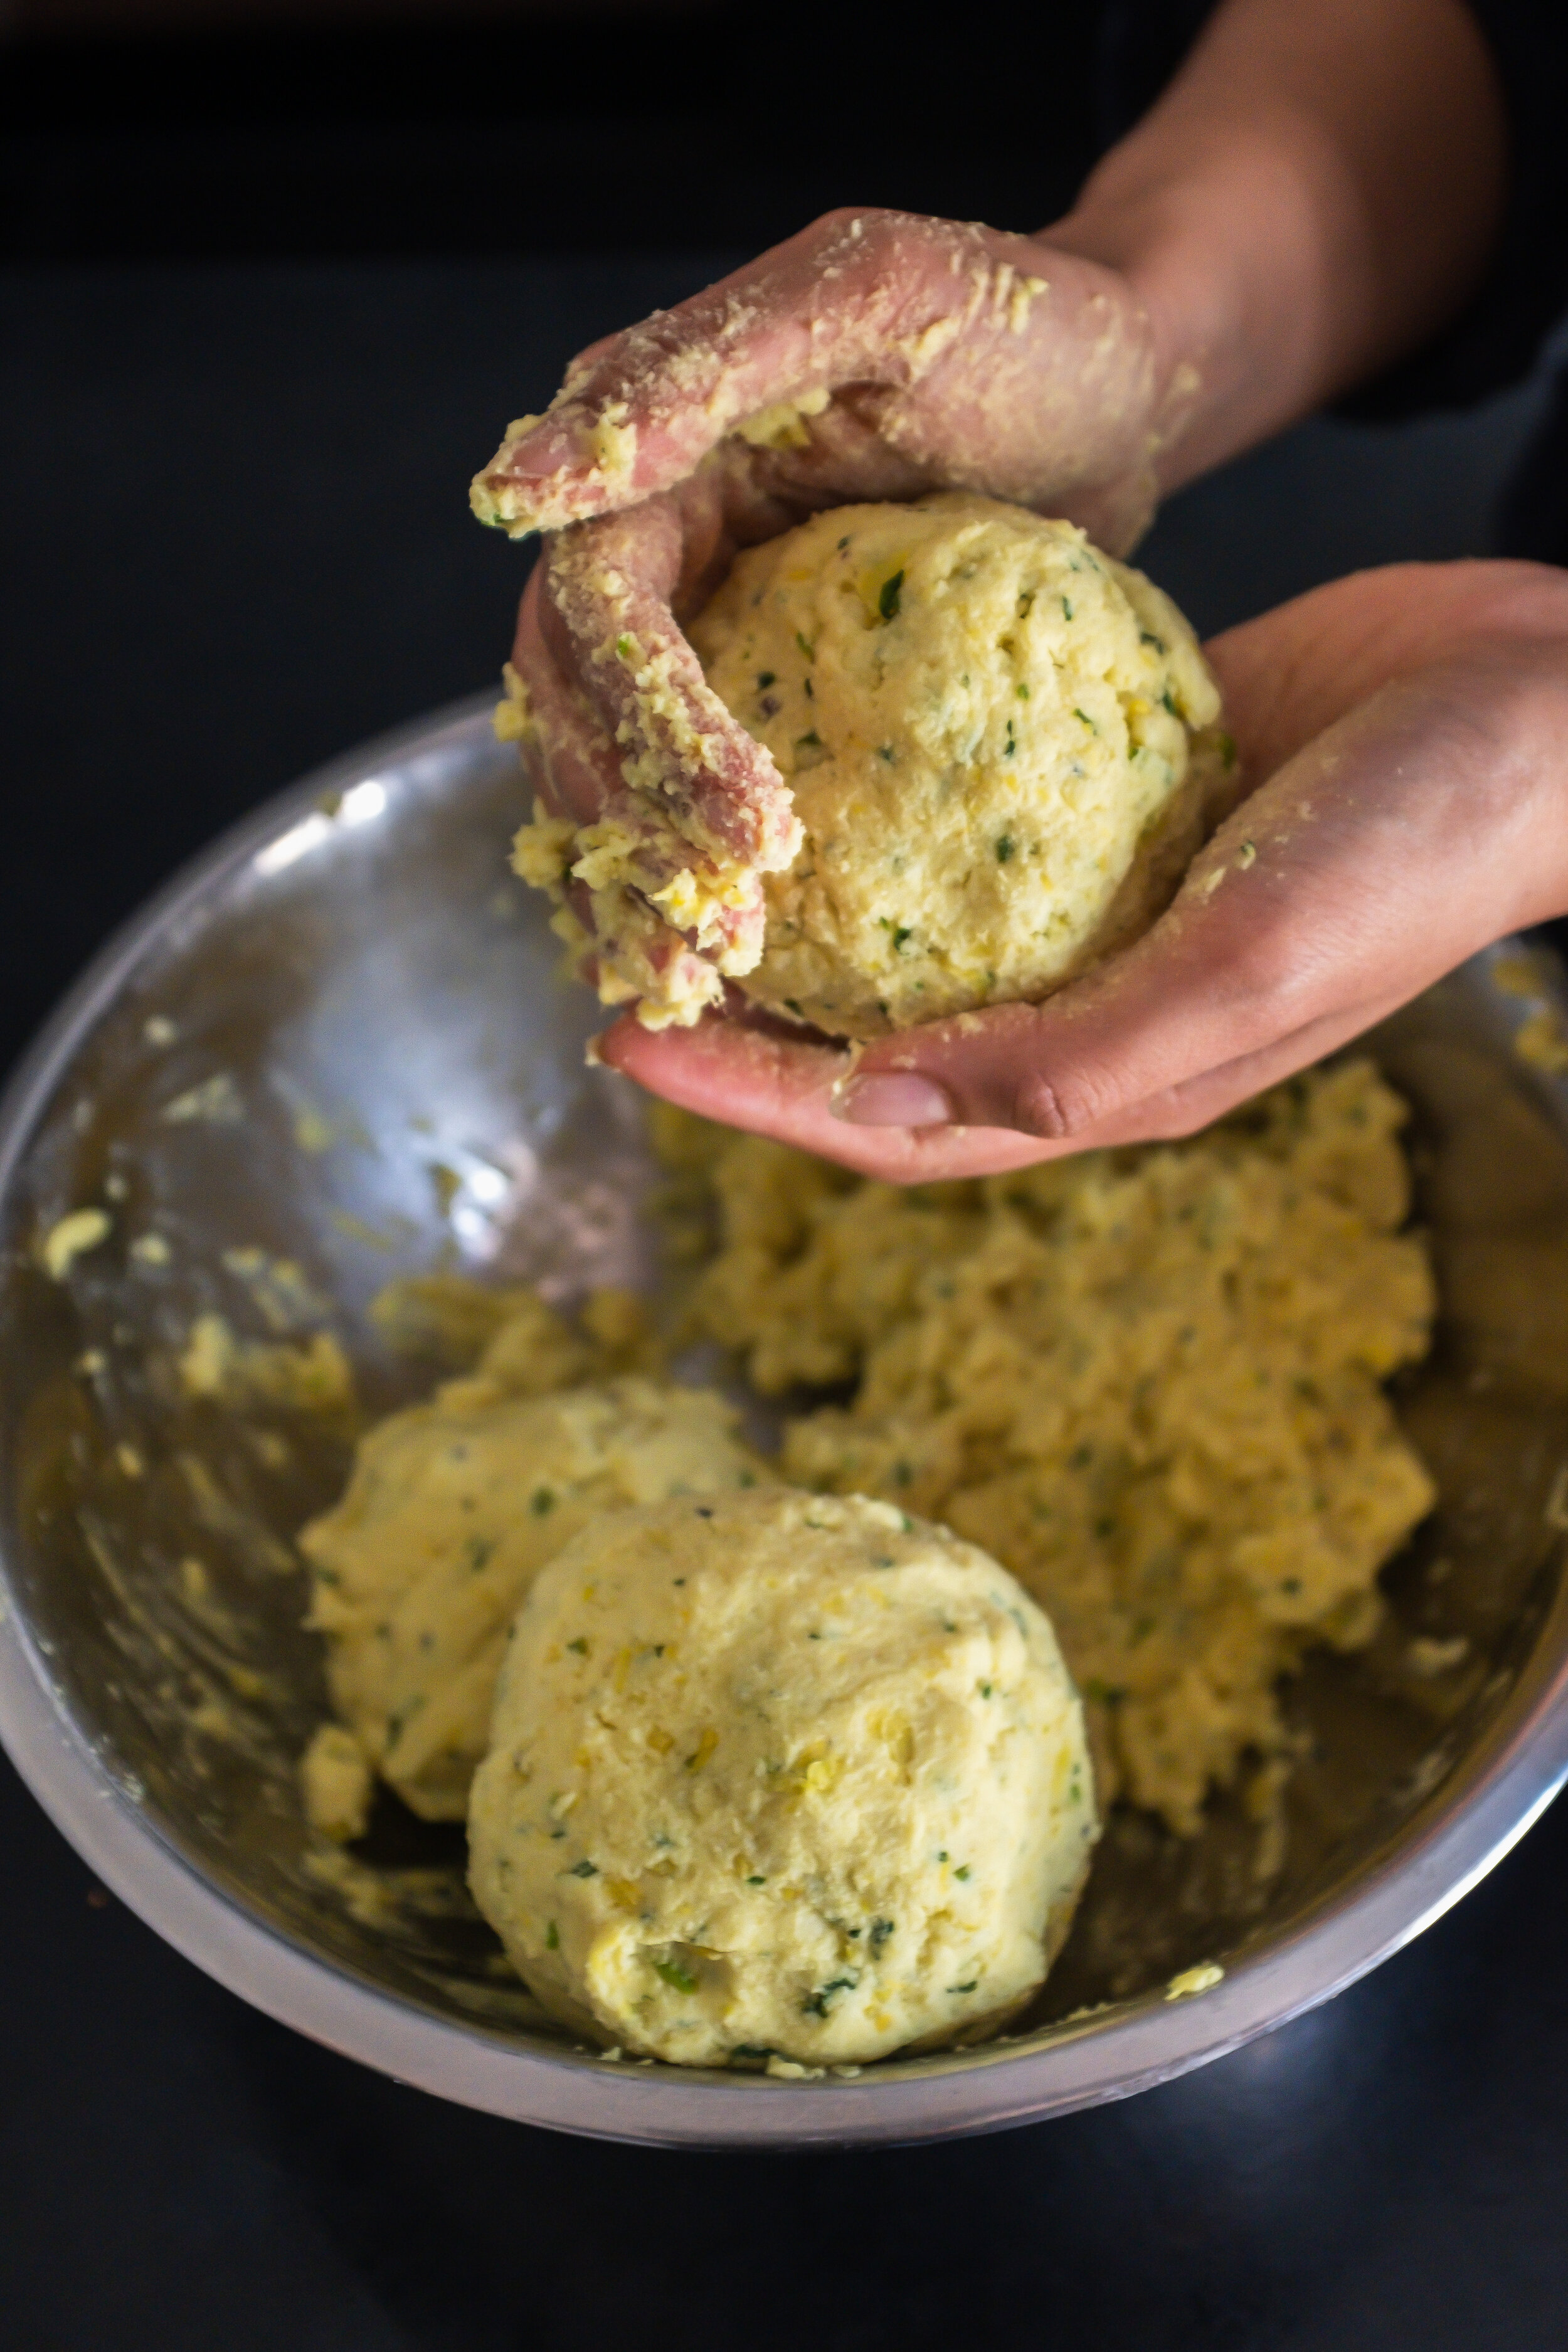
Once the dough is cool to the touch, knead well further, splitting the pliable dough into roughly equal sized balls. This will help when it comes to rolling.
Dust some rice flour on a chopping board or a clean worktop. Using the roller, spread the dough to your preferred density. I like mine a few millimetres thin because they turn out crispy and take less oil and time to fry.
Use a cookie cutter to cut even, round fritters. I didn’t have these and used the lid of a plastic storage jar which did the job fine!
Set aside the pithas you would like to eat now. With the rest, transfer to a board or tray that fits in your freezer overnight before storing them in freezer friendly storage bags or tupperware. These can be kept for up to 2-3 months.
To fry the nuner pitha, heat oil on a medium flame. Touch the bottom of your pan with your wooden spoon- if it forms bubbles, the oil is hot enough to fry the pitha. These will not take long so two minutes or so on each side should be enough.
Serve piping hot with tamarind chutney and a side of yogurt.