Best Of Bengali- Patha Pitha (Plaited Sweet Pastry With Saffron Syrup)
There’s a paradox that exists between the East and West when it comes to the philosophy of dessert. The general opinion held by most people in Europe is that Bengali desserts are far too sweet and rich. However, attend any Bengali wedding and you’ll notice that guests are swiping each other’s bowls of kheer or gajorer halwa, relishing a second or third helping!
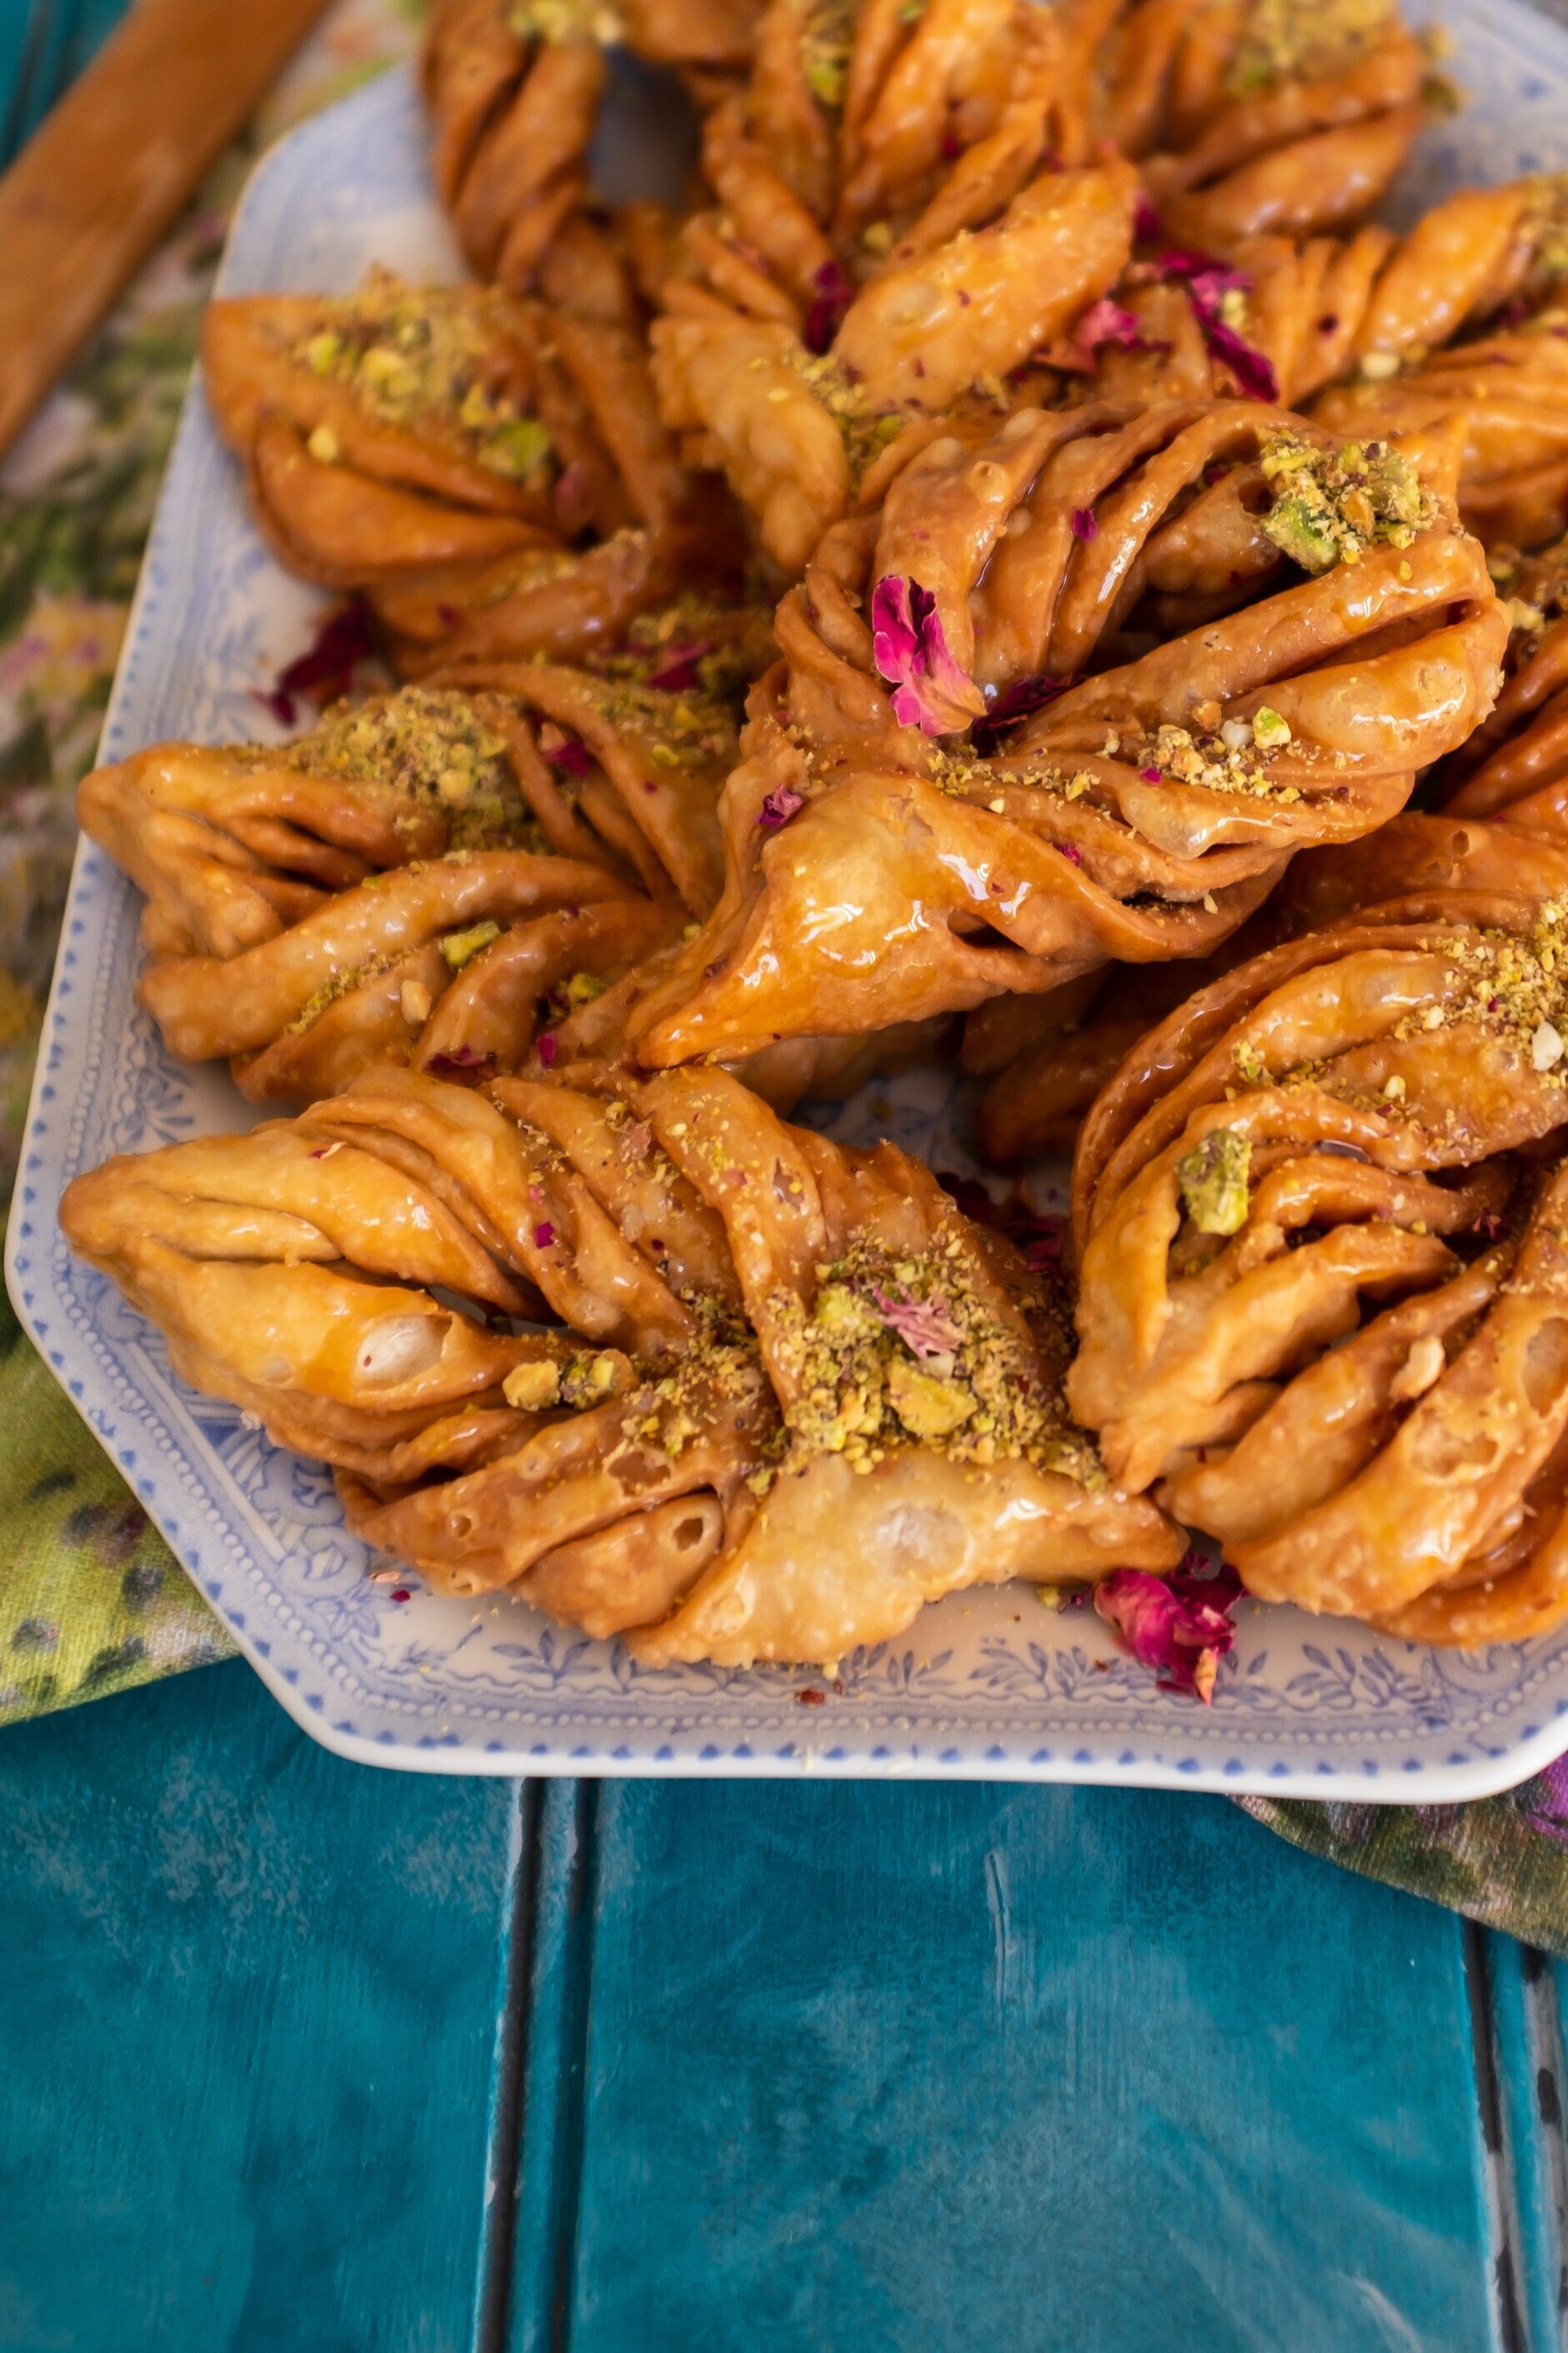
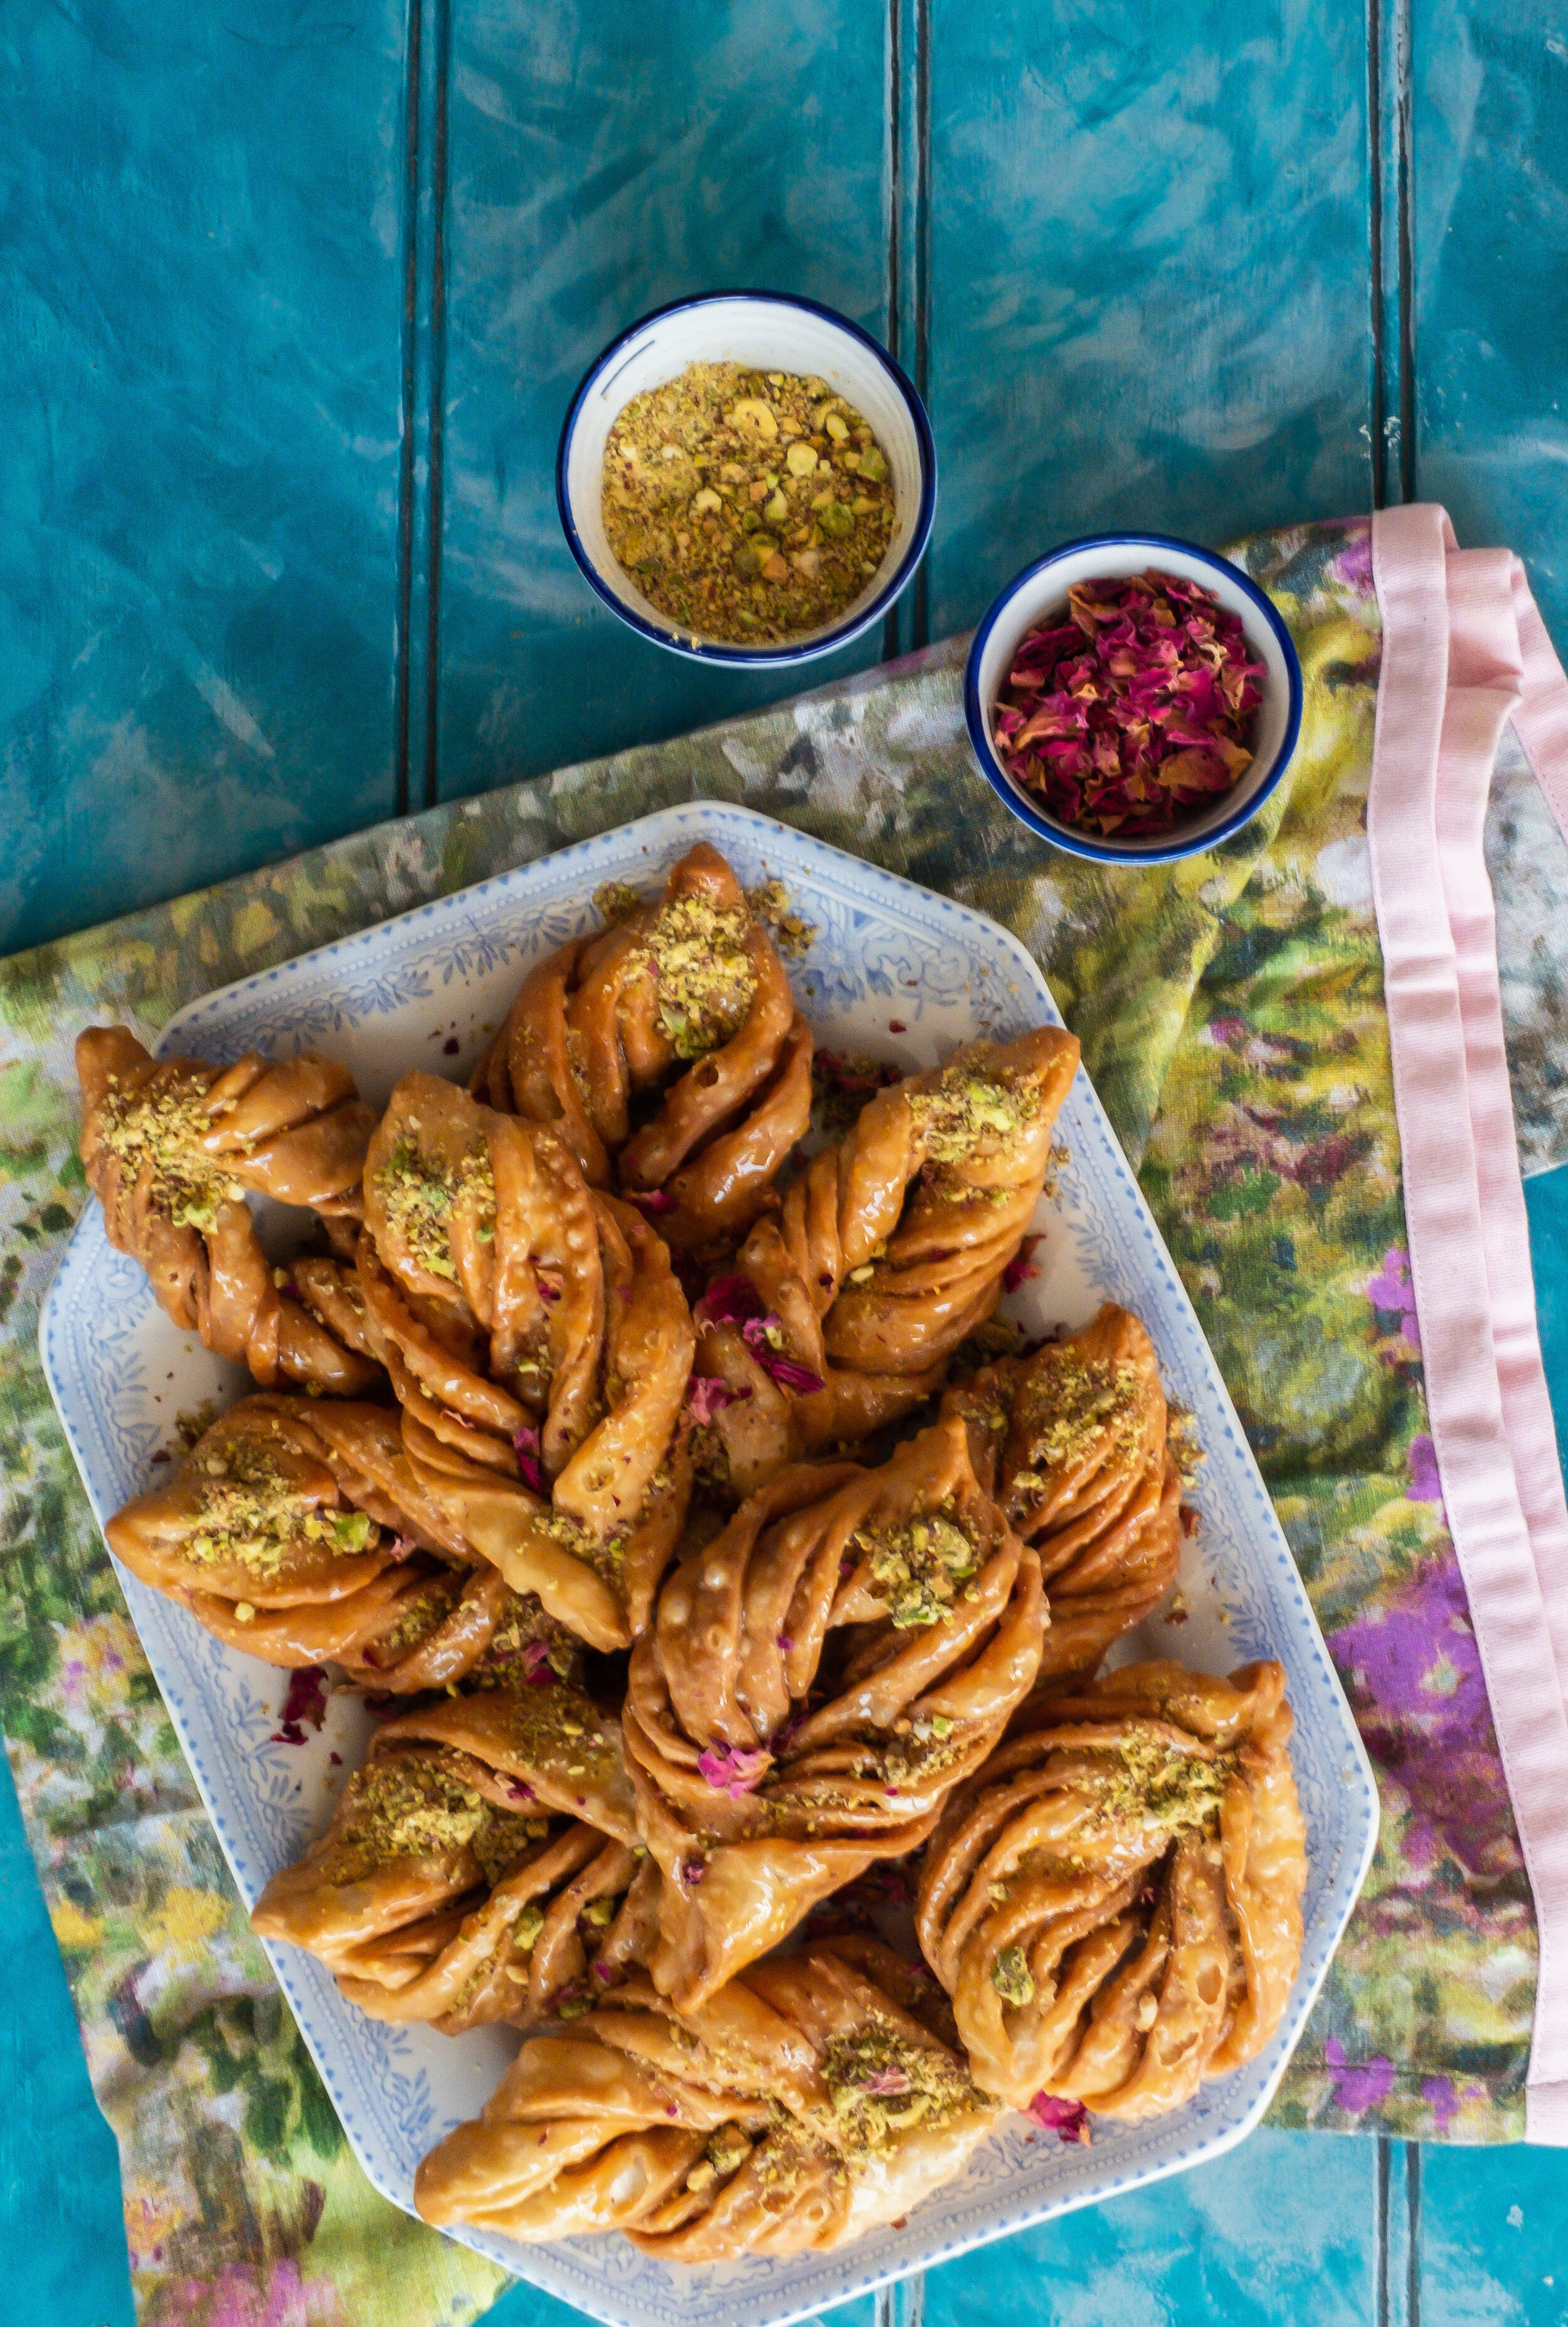
This year for Eid, I wanted to highlight that Bengali desserts are not at all one note and come in a spectrum of sugary goodness. I saw an Instagram favourite (follow Dining And Beyond if you don’t already) make these and fell into a deep pit of asking family and friends what this delightful thing is called. With that, I give you the beautiful patha pitha: a plaited pastry with saffron syrup. Although essentially just a humble, slightly sweetened nimki pastry, the pleated ribbons that look like a ‘patha’ or leaf are what really make this a talking point.
Prep+cooking time: 1 hour
Servings: makes roughly 8-10 patha pitha
Ingredients for pastry
2 cups plain flour
2 tbsp caster sugar
2 tbsp unsalted butter or ghee
Pinch of salt
2 tbsp ground almonds or desiccated coconut (optional but it does add a nice texture to the otherwise simply pastry)
¾ cup water
Ingredients for saffron syrup
1 cup sugar
¾ cup water
5-6 crushed cardamom pods
1 cinnamon stick
Generous strands of saffron
1 tsp lemon juice (optional; you could use rosewater or vanilla extract if you wish)


Instructions
Prepare your dough by mixing all the dry ingredients, ensuring the coconut is evenly dispersed first, and pour in a little water at a time while you mix with the other hand.
Knead for two minutes until it forms a smooth, slightly tight dough. Cover the bowl with a towel or plate and leave to rest in the fridge for 15 minutes. You need the dough to be chilled so that when you work the pastry into it’s leaf shape, it holds well.
While the dough rests, make the syrup by simmering water, sugar with chosen spices and lemon juice for 10 minutes on a medium heat. The syrup should bubble and foam. If not, continue for a few more minutes until it does. By now, it should have taken on the golden colour from the saffron but not turned brown from caramelising. Leave aside off the flame for later.
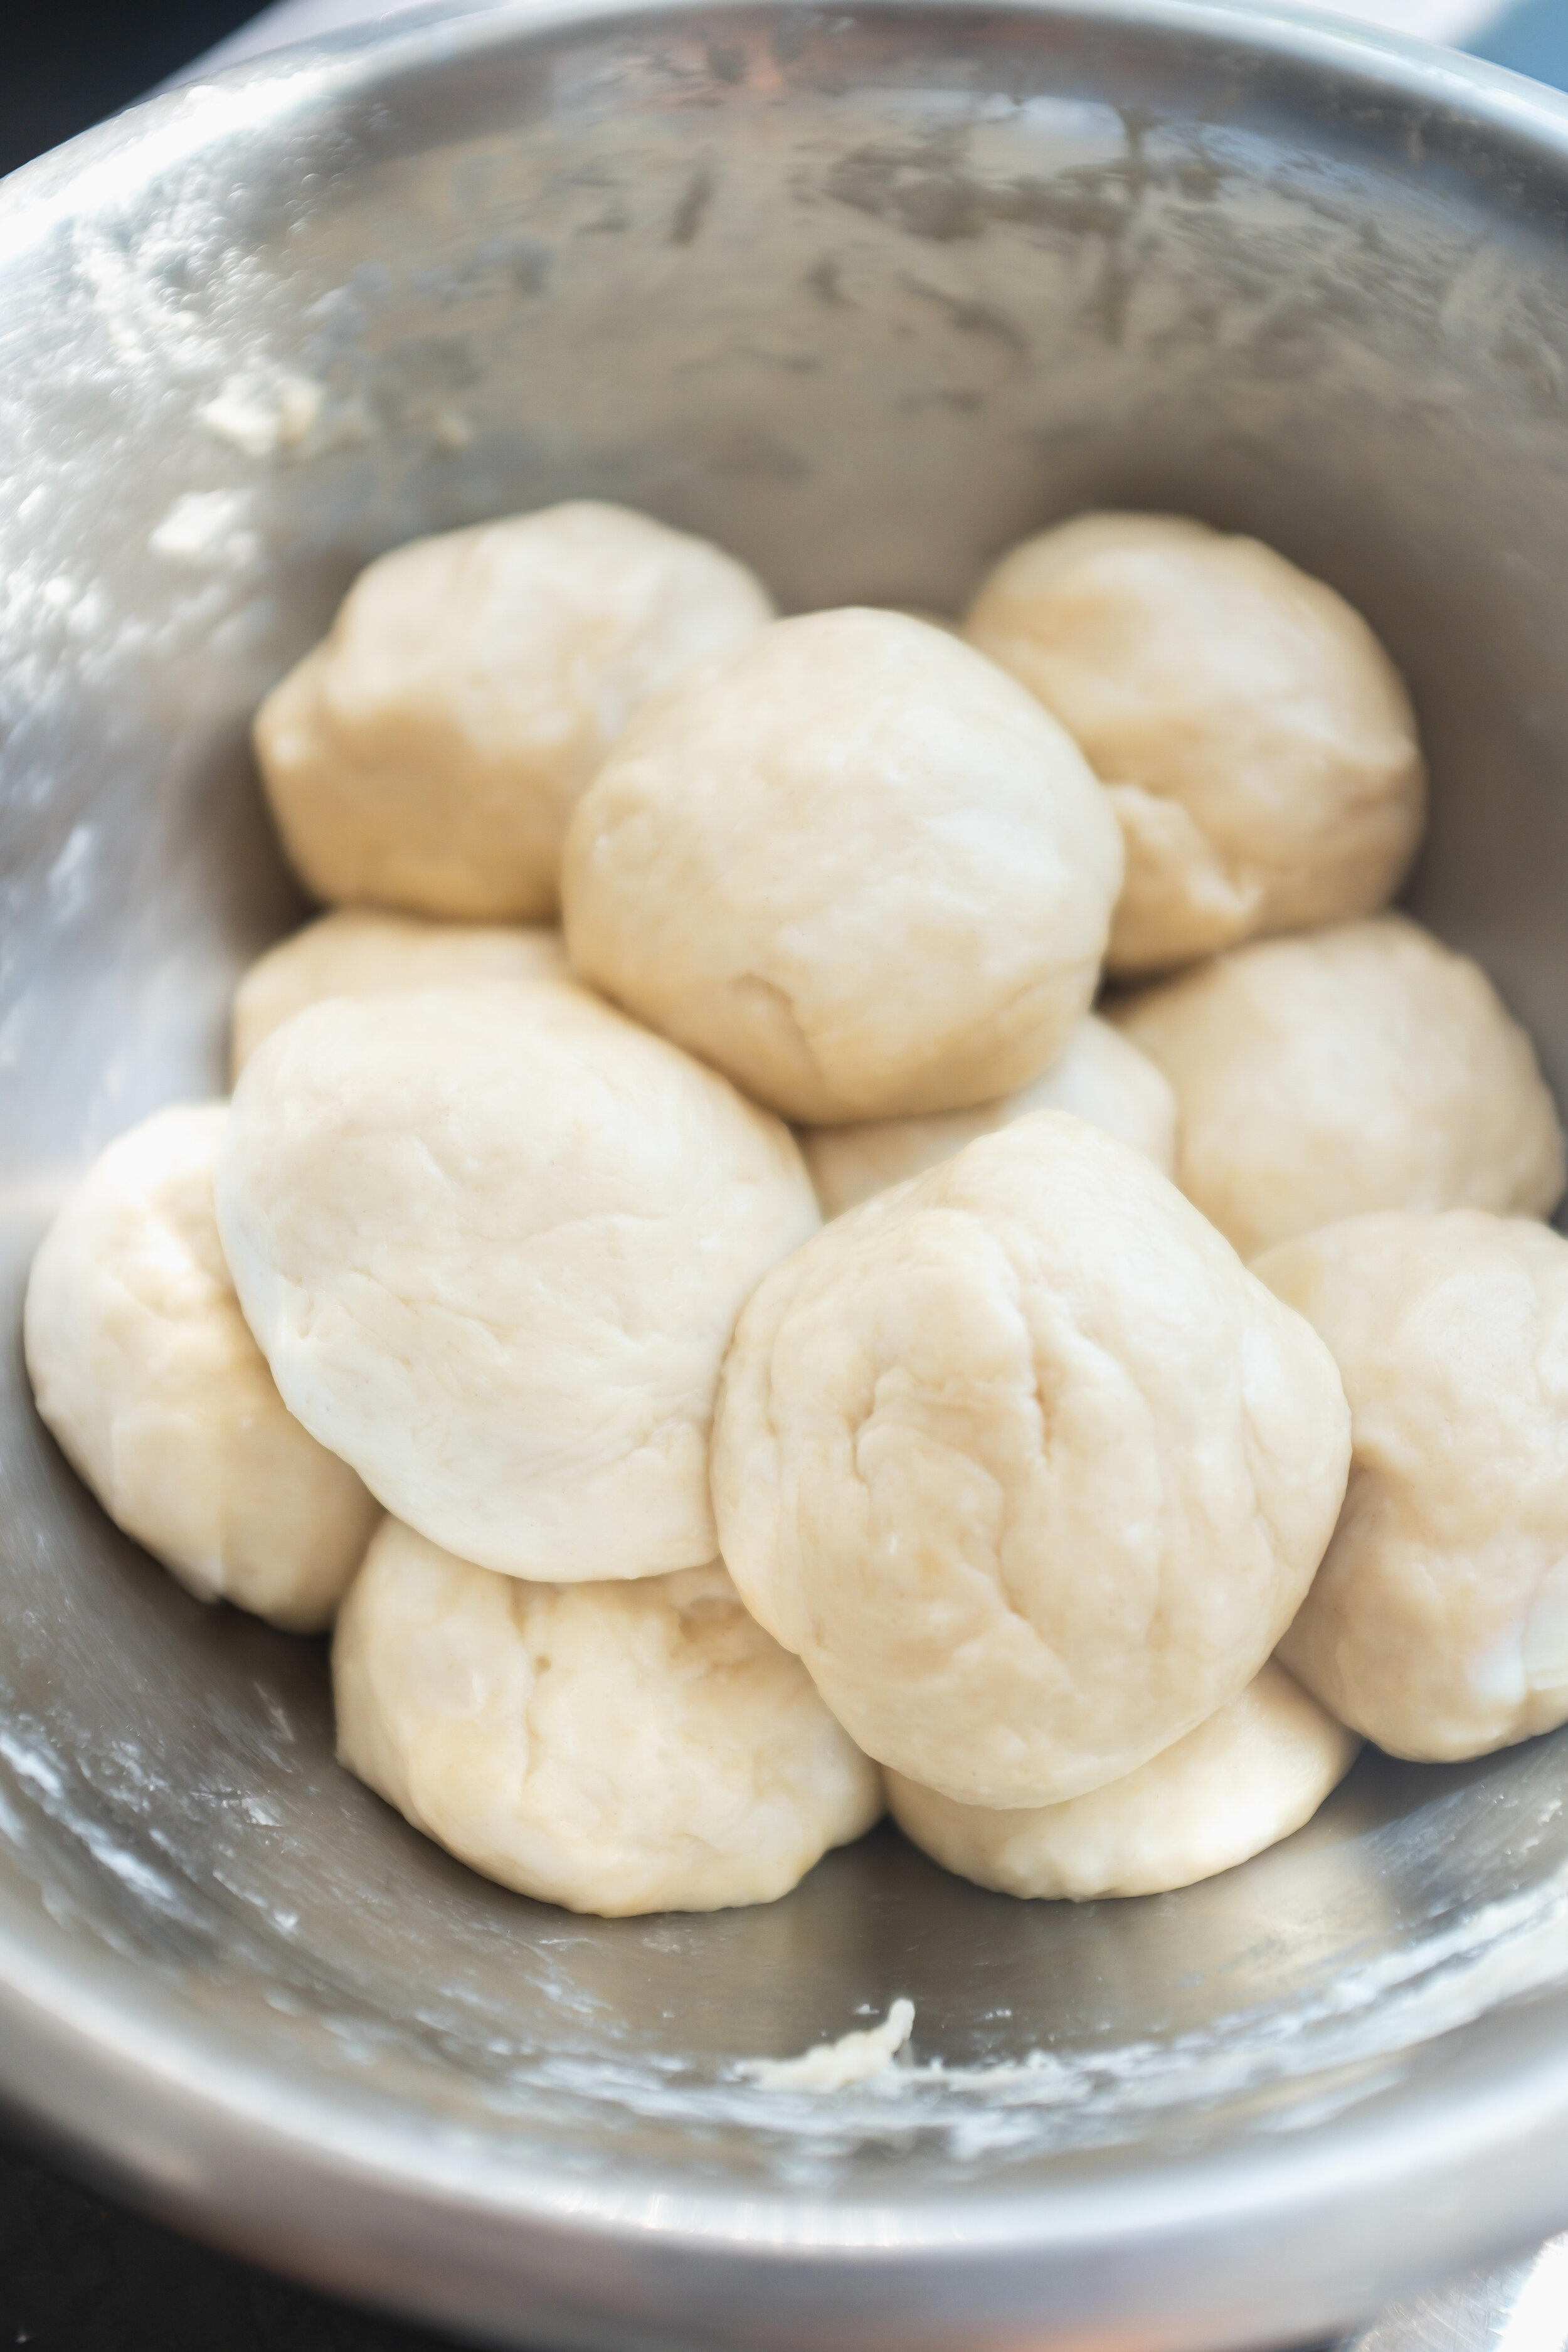
Note: The syrup should be thick enough that when slightly cool, you are able to place a drop between your thumb and index finger and it forms threads that look like a stick web when you pull away.Retrieve your dough from the fridge and divide into roughly eight equal sized balls. Dust flour on a clean worktop to prepare it for rolling out the dough.
Roll out each ball to create approximately 20cm x 8cm rectangles. Flour the dough and worktop every time you reach for a new dough.
Score the rectangle with vertical cuts, avoiding the top and bottom and leaving 1cm gaps.
Tip: This pastry requires precision for them to turn out identical and if you struggle with straight edges, a pizza cutter or very sharp knife is recommended.Lightly dampen the long edges of the pastry and carefully fold in half, then half again. From 20cm, you should have a thicker 5cm pastry. Gently pinch so the top and bottom do not come undone.
Fold in the top edge so it is pleated and thin. Search for a gap in the vertical slits that seems like halfway. Take the pleated top and turn it under through the gap. This is what gives the pitha that ‘patha’ or leaf design.
Crimp the bottom inwards, feather out the ribbons of pastry if needed and place on a floured surface. This is difficult to articulate without showing so here is a handy gif:
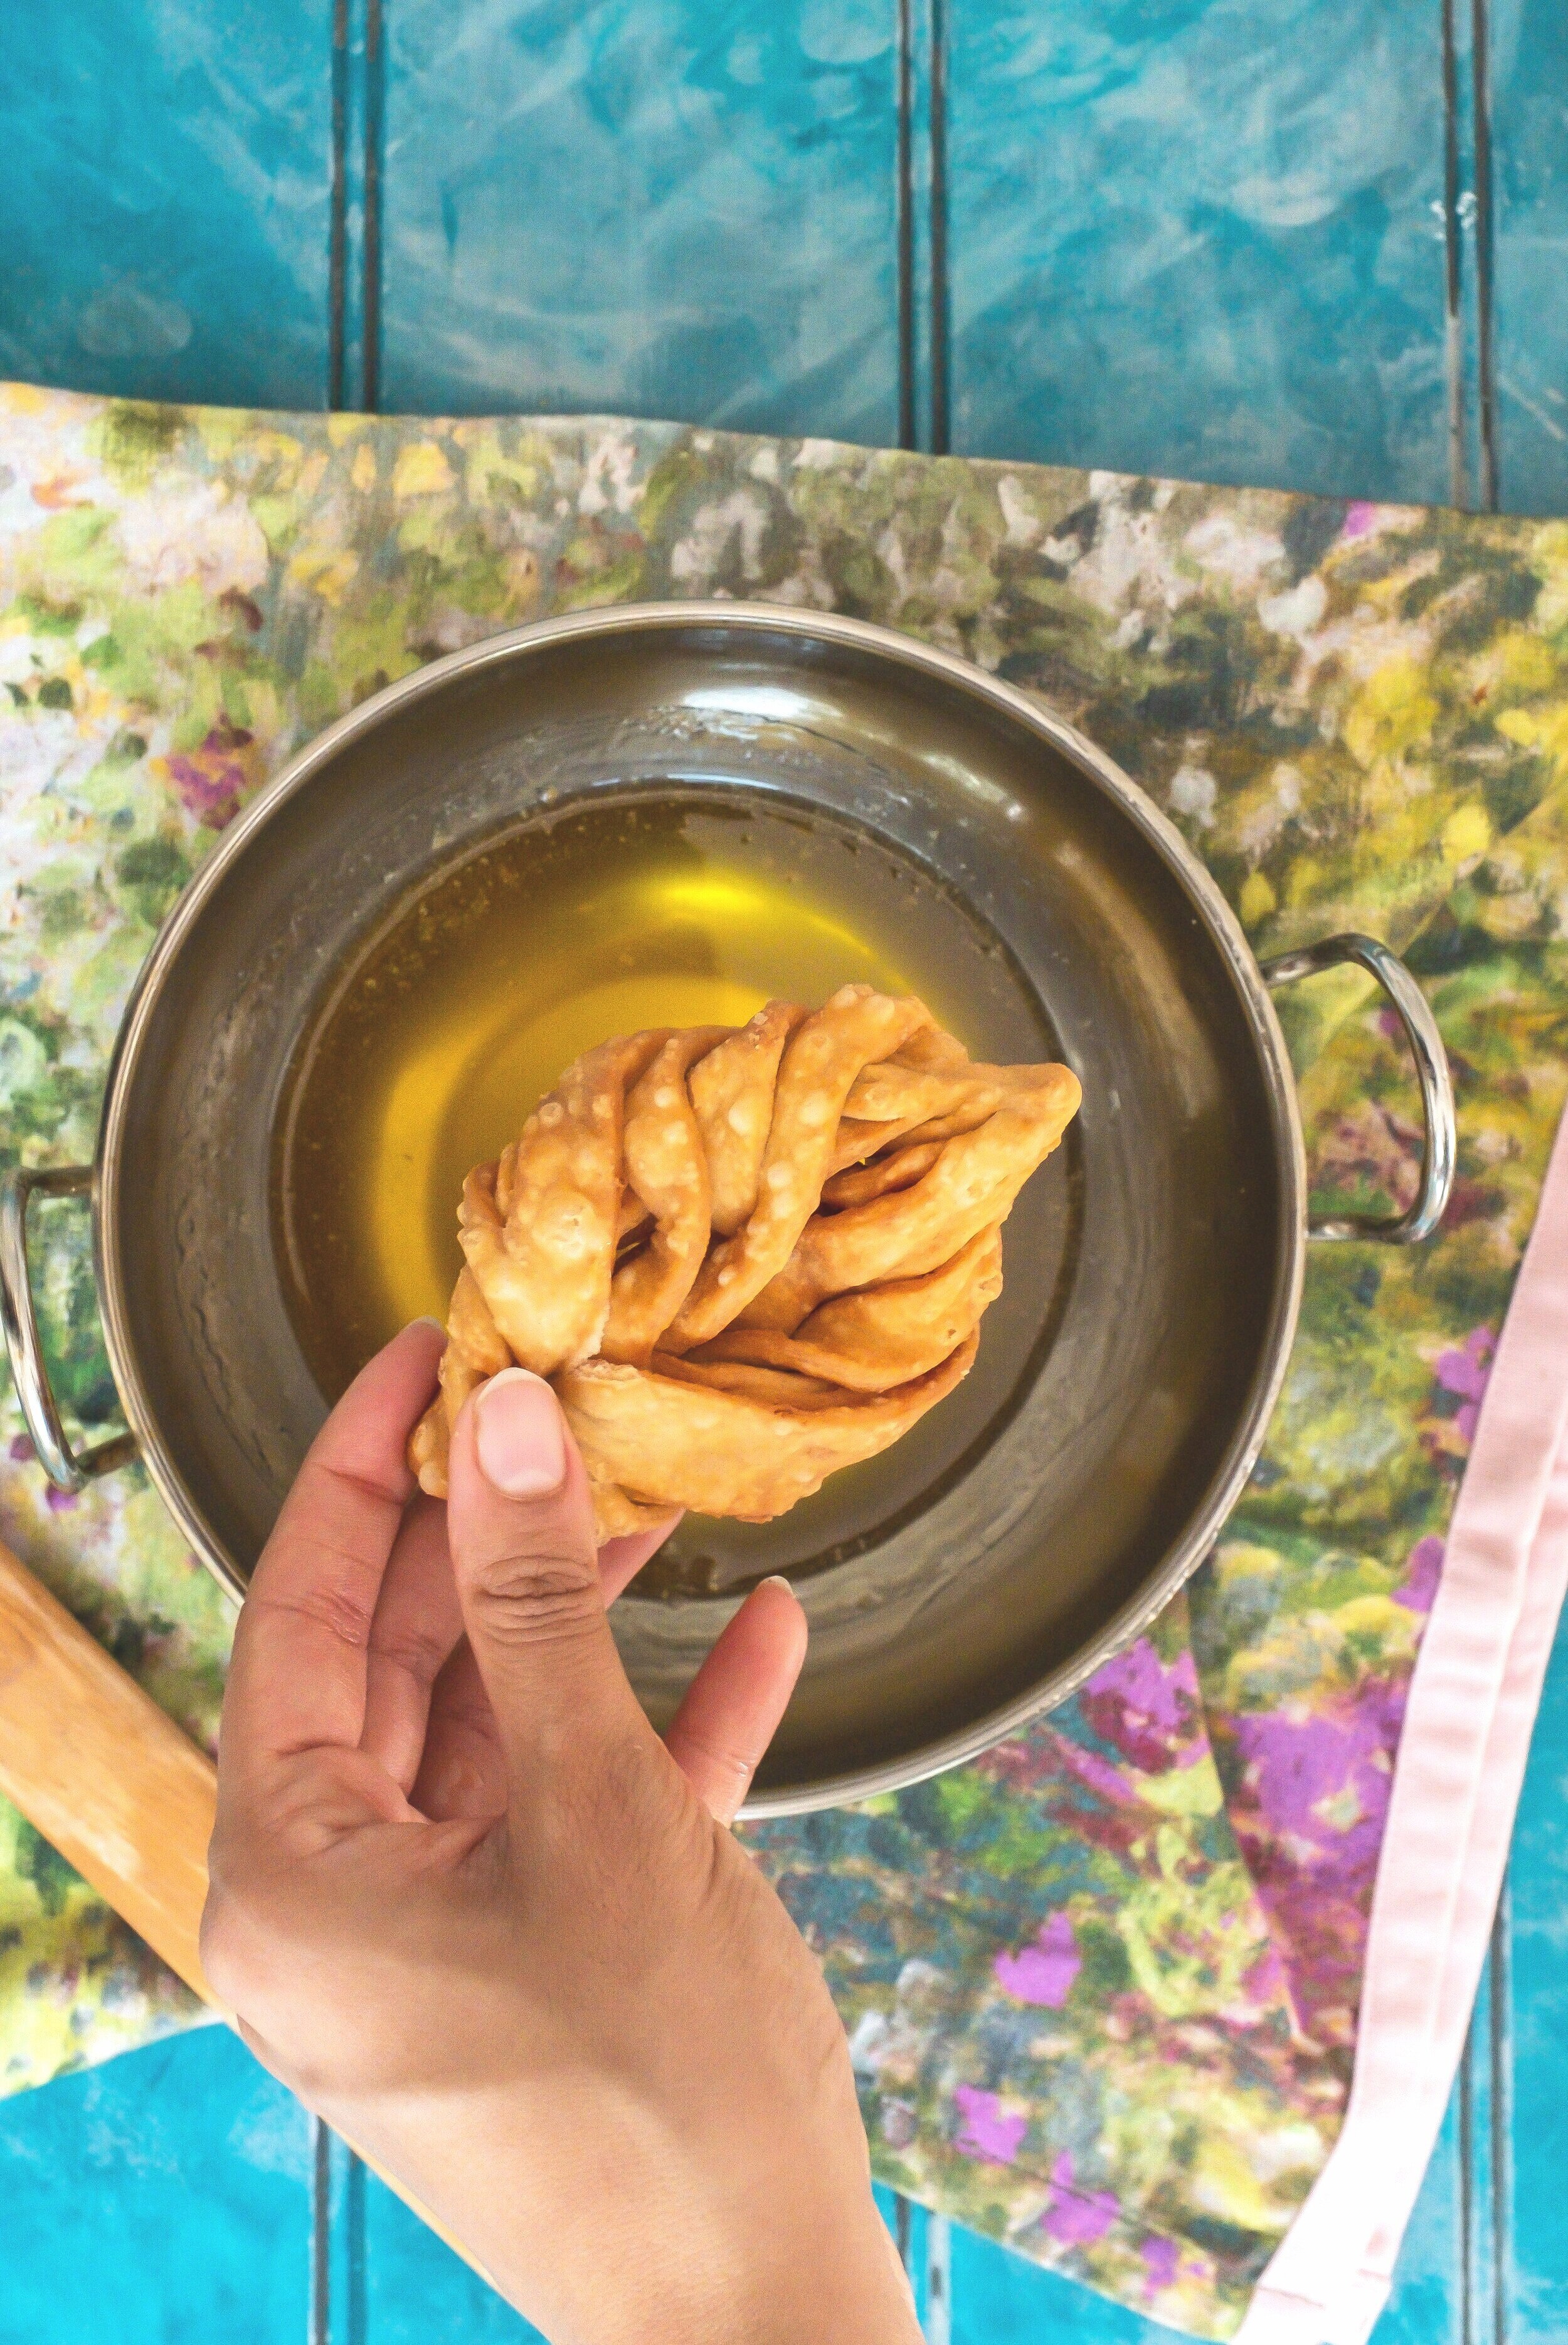
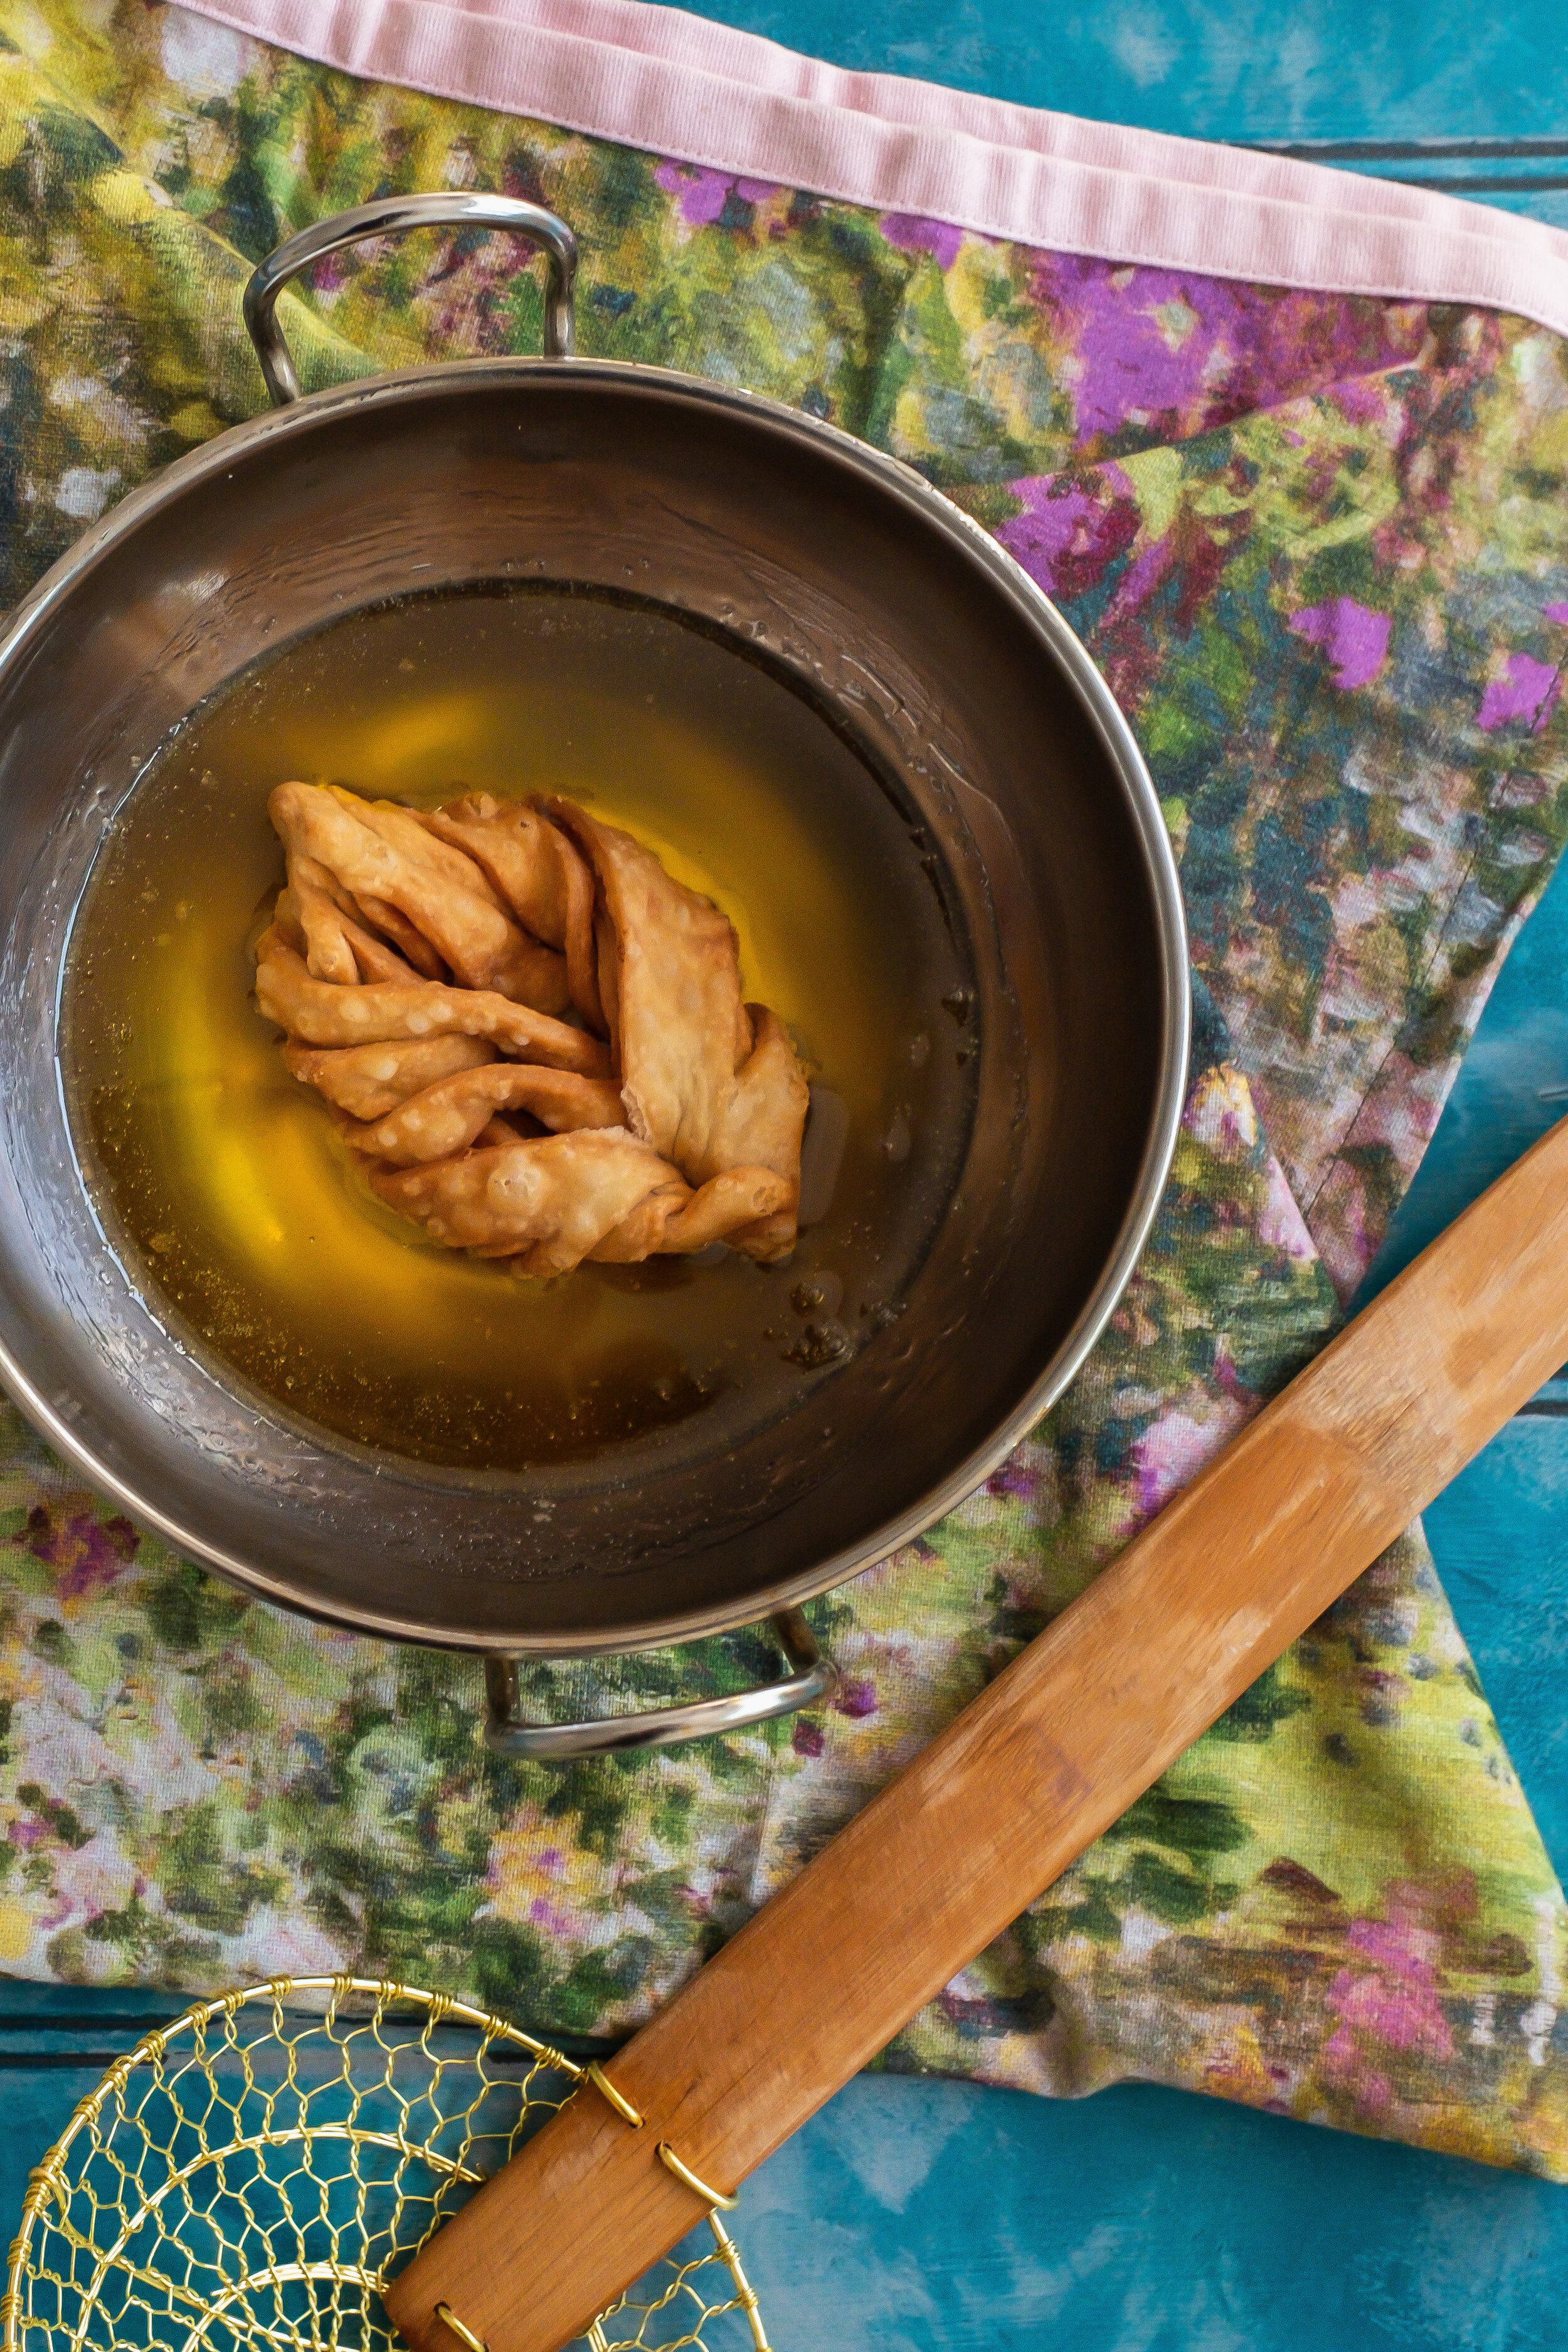
10. Heat a mild oil like vegetable or sunflower in a frying pan over a medium-low heat. Fry two or three at a time, leaving space to move around and turn with a slotted spoon. Remove the pitha when it reaches a pale golden brown. If you like them crunchier, leave them in for a minute or two longer. Drain them on a cooling rack or plate with a paper towel.
11. With the syrup that you made in Step 3, brush or dunk each pitha into the syrup. I prefer to brush one side as I don’t like these to be too sweet.
12. Patha pitha is best when it’s still hot and crunchy but they will keep for a week in an airtight container.